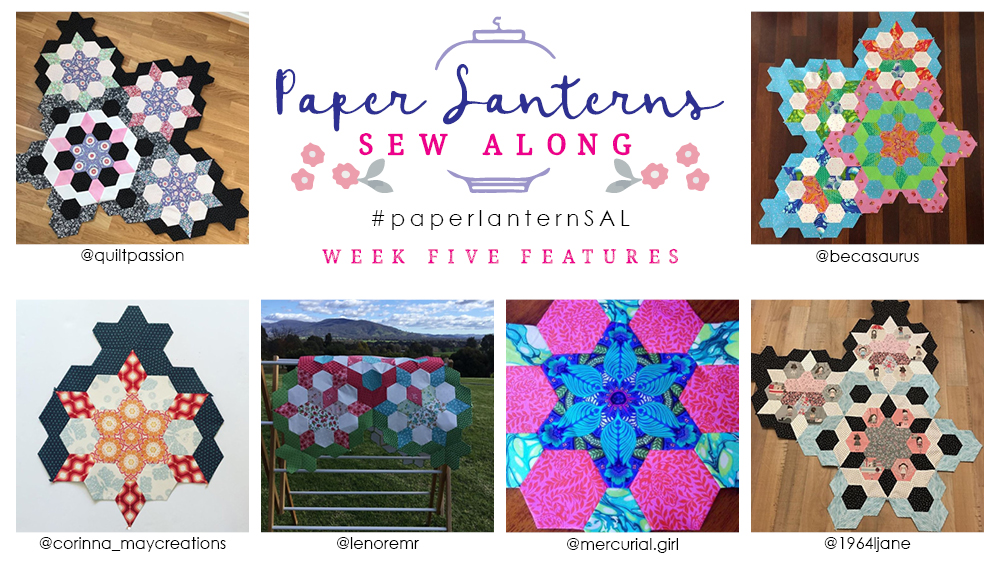
Paper Lanterns Sew Along Week Six
Happy Wednesday folks! I feel like week 6 has come around quickly and this quilt is growing just as quick, the nice thing about working with these larger shapes.
This weeks tip is around Needles, Thread and threading your needle. The needles you use for EPP will make all the difference when trying to make your stitches as invisible as possible. My biggest issue for the longest time when I started English paper piecing was that I could see my stitches from the right side, due to the thread & needles I was using. We’re taught that if we’re using cotton fabric to use cotton thread which is the case for many techniques however when it comes to EPP we’re constantly dragging the thread across the top of the card which weakens the thread. I tested many brands and types of thread and the only one that was strong enough was a polyester. It is strong so will withstand the dragging and fine so your stitches will sink into your fabric. The other thing I needed were fine needles but I wanted a large eye. After searching and not finding the right needle I ended up manufacturing my own brand of which I have 4 sizes now. Size 9, 10, 11 & 15. Size 11’s are our top selling size for EPP, Size 15’s are nice and long and perfect for appliqué. Size 9’s & 10’s have the largest eyes and are perfect should you struggle to thread your needle.
I’ve always taught my students to hold their needle and thread over something white when struggling to thread their needles, this has become quite useful as my eyes age but there is a great and inexpensive needle threader that I recently discovered and love and I wanted to share it with all of you. It’s called the Hummingbird Needle Threader. I’ve filmed a short tutorial on my Instagram stories today for those wanting to see this nifty tool in action.
Alrighty, now we’ll move onto this weeks pie block. We’re now past the half way point for the pie blocks. These 6 weeks are the biggest blocks for the entire sew-along, so once these are complete it’s all down hill.
Requirements
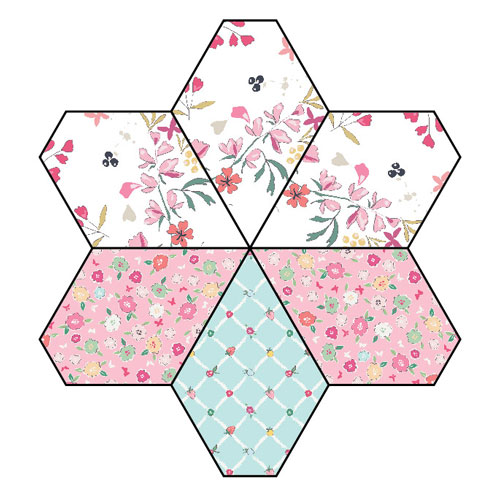
- Floral 1. Jewels (3) Fussy-cut
- Pink 1 Jewels (2)
- Blue Jewel (1)
- Spot 2” Half Hexagons (12) Fussy-cut
- Green Jewels (6)
- Navy Jewels (11)
12 – 2” Half Hexagons
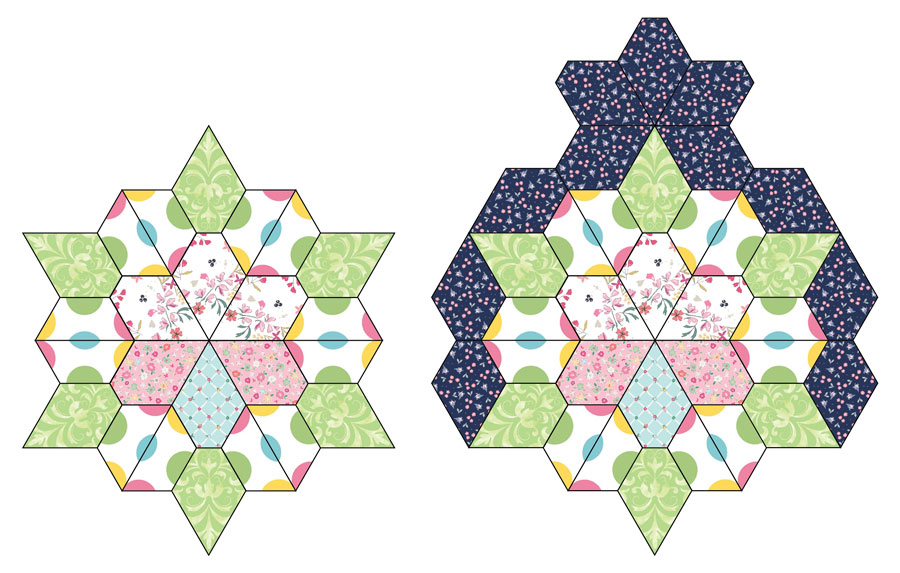
Follow the EPP instructions and diagrams to make the following.
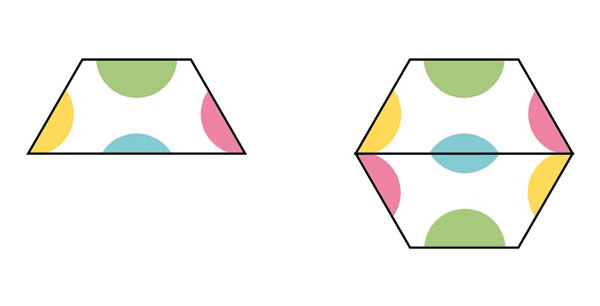
Spot Half Hexagons
Cut 12 half hexagons on the same pattern repeat.
Hint: Sticky dots are useful for this as it keeps the original piece stuck to the template so you can line up the next piece to cut.
Once you have pieced the half hexagons together you should have six fussy-cut hexagons.
Sew all of the pieces together as shown in the diagram.
And that’s all for week six of the paper lanterns sew-along.
I have been asked by many of you for a blank diagram so you can plan your future blocks. We have done an all over and also a broken down layout. You can down this PDF for free HERE!
Don’t forget to start connecting your pie blocks to your centre block, it’ll make it easier when you get further along.
Until next week!